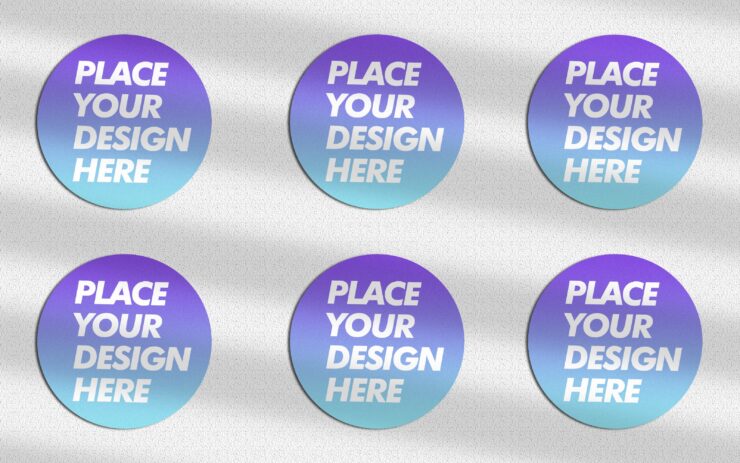
Creating a 3D Round Sticker Mockup Design in Photoshop requires some design skills, but it allows you to have full control over the customization and final look of the mockup. If you prefer a quicker option, you can also explore online mockup generator websites that offer pre-made templates for various products, including stickers. Once you’re satisfied with the sticker mockup, save the Photoshop file (.psd) to retain the layers for future editing. Additionally, export a flattened, high-quality version of the mockup as JPEG or PNG for sharing and presentation. Review the overall appearance of the sticker mockup and make any necessary adjustments to ensure it looks visually appealing and realistic.

Add a background to the canvas that complements your sticker design. This could be a simple solid color, a textured surface, or a realistic scene. Drag and drop your sticker design (the PNG file you prepared earlier) onto the mockup canvas. To make the sticker mockup look more realistic, you can add shadows and highlights. Create a new layer beneath the sticker layer, use a soft brush, and paint a subtle shadow that matches the lighting of the mockup background. You can also add highlights on the edges of the sticker to create a 3D effect.


Add comment