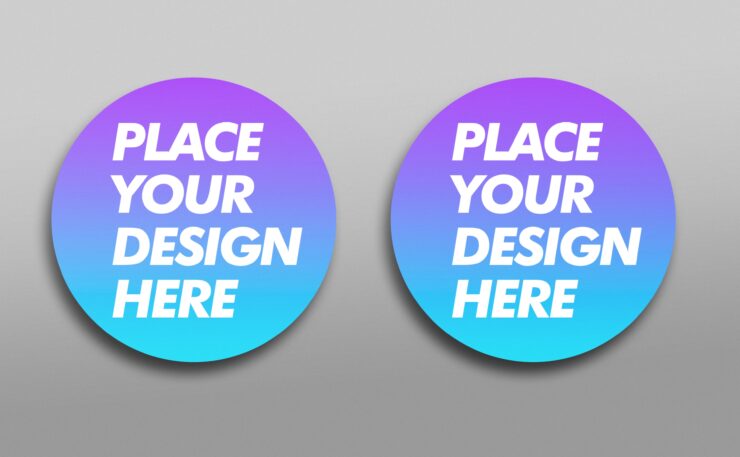
Creating a Double Rounded Sticker Mockup Design is a great way to showcase your sticker design in a realistic and visually appealing manner. Here’s a step-by-step guide on how to create a sticker mockup using Adobe Photoshop. If you don’t have Adobe Photoshop, you can find online sticker mockup generators that allow you to upload your design and generate a mockup without using graphic design software. Your sticker design is in a high-resolution format (preferably with a transparent background). An image or background texture on which you want to display the sticker.

If you want a background image or texture, go to File > Place Embedded and select the image you want to use as the background. Resize and position it to fit your document if necessary. Drag and drop your sticker design onto the document. Position and resize it to fit the desired location on the background. Right-click on the sticker layer and choose “Create Clipping Mask.” This will make the sticker design only visible within the boundaries of the background image. You can use various Photoshop adjustment layers (e.g., Brightness/Contrast, Hue/Saturation, etc.) to modify the sticker’s appearance and make it blend better with the background.


Add comment